How to Run a Connection Test with WinMTR or Traceroute
If you're experiencing connection issues, interruptions, or lag, there may be a problem between your network and the server. To identify the issue, it's best to run a connection test. In this guide, we’ll show you how to do it using WinMTR on Windows and traceroute on macOS or Linux.
On Windows: Using WinMTR
1. Download WinMTR
You can download WinMTR from the following link:
https://sourceforge.net/projects/winmtr/
 |
| Image 1: Official WinMTR download page. |
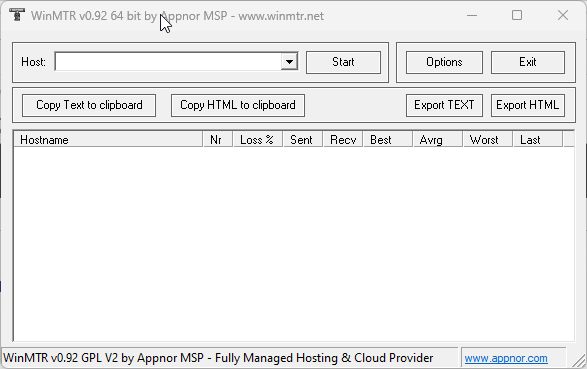
2. Open WinMTR
Once downloaded and unzipped, run the WinMTR.exe file (you can use the 64-bit or 32-bit version depending on your system).
 |
| Image 2: Run WinMTR. |
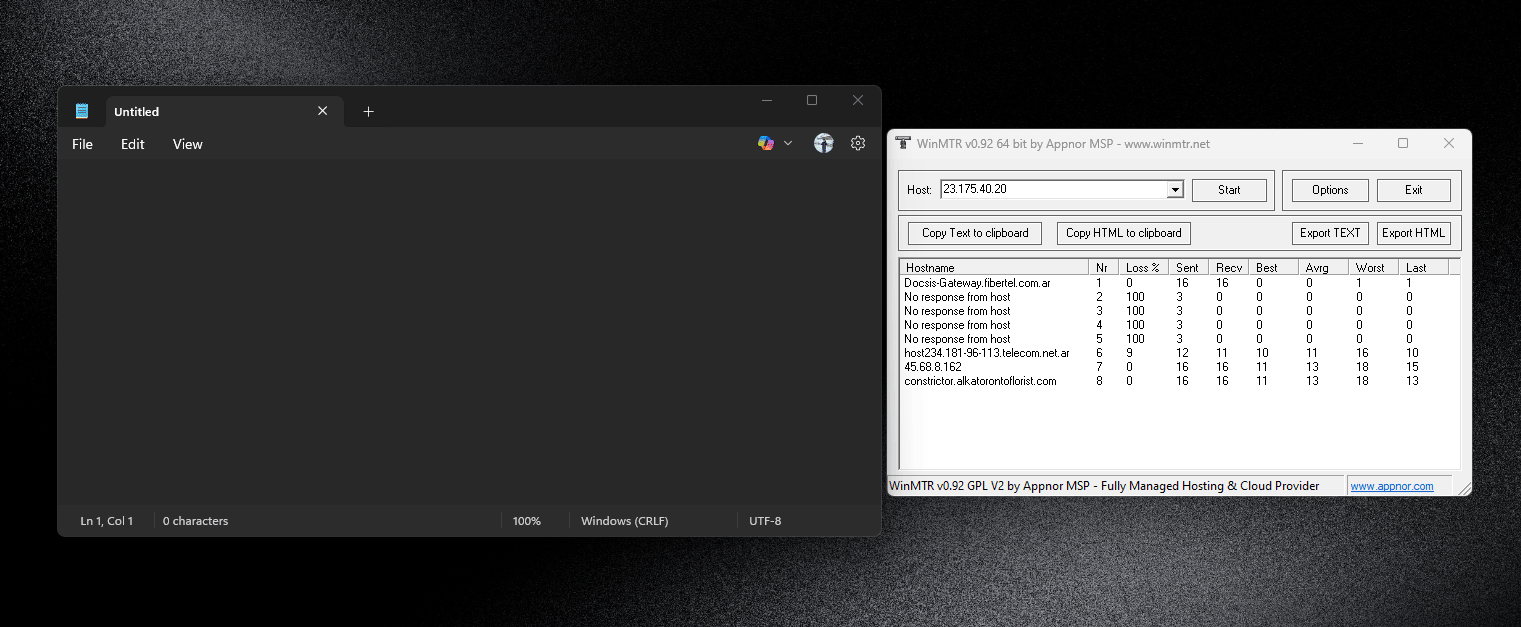
3. Run the test
- In the Host field, enter the server's IP or domain you want to connect to (e.g.,
23.175.40.20). - Click on Start.
- Let the test run for at least 1 minute.
 |
| Image 3: Connection test in progress. |
4. Save the results
Once the test is done, click on Copy Text to clipboard or Export TEXT to save the results.
You can paste the result in a support message or attach the exported file.
 |
| Image 4: Export or copy the test results. |
On macOS and Linux: Using Terminal
1. Open the Terminal
- On macOS: search for "Terminal" using Spotlight.
- On Linux: open the terminal from your applications menu.
2. Run the traceroute command
In the terminal, type the following:
traceroute 23.175.40.20Press Enter and wait a few seconds for the test to complete.
 |
| Image 5: traceroute results in macOS or Linux. |
Copy and paste the result to send it to support if needed.
What do we do with these results?
The test results help us detect packet loss or high latency at any point between your network and our server. This helps us determine if the issue is with your internet provider, an intermediate route, or the server itself.
If you have any questions, feel free to send us the results via support ticket or from your client area.


